Easy craft ideas for kids - Easter Wreaths!
Activity Duration: 1 - 2.5 hours
My children absolutely love doing Easter crafts. Last year I bought them a ‘make your own’ Easter bunny kit, it was so complicated I had to make them myself (even for the 8 year-old!). I didn’t want to make the same mistake this year, so the priority was to find a simple Easter craft they could do independently and I could be on hand to assist if needed.
Easter Wreaths have been growing in popularity and are a great craft because you need very little equipment, the kids can spend as little or as long on them as they want and will always end up with a nice result.
This craft activity is good for all ages, but I feel the optimal age is from 5-10 years-old.
I have set out what equipment you need and a step-by-step guide to follow for your Easter Wreath.
Table of Contents
The equipment needed to make an Easter Wreath
An apron
An old tablecloth/newspaper
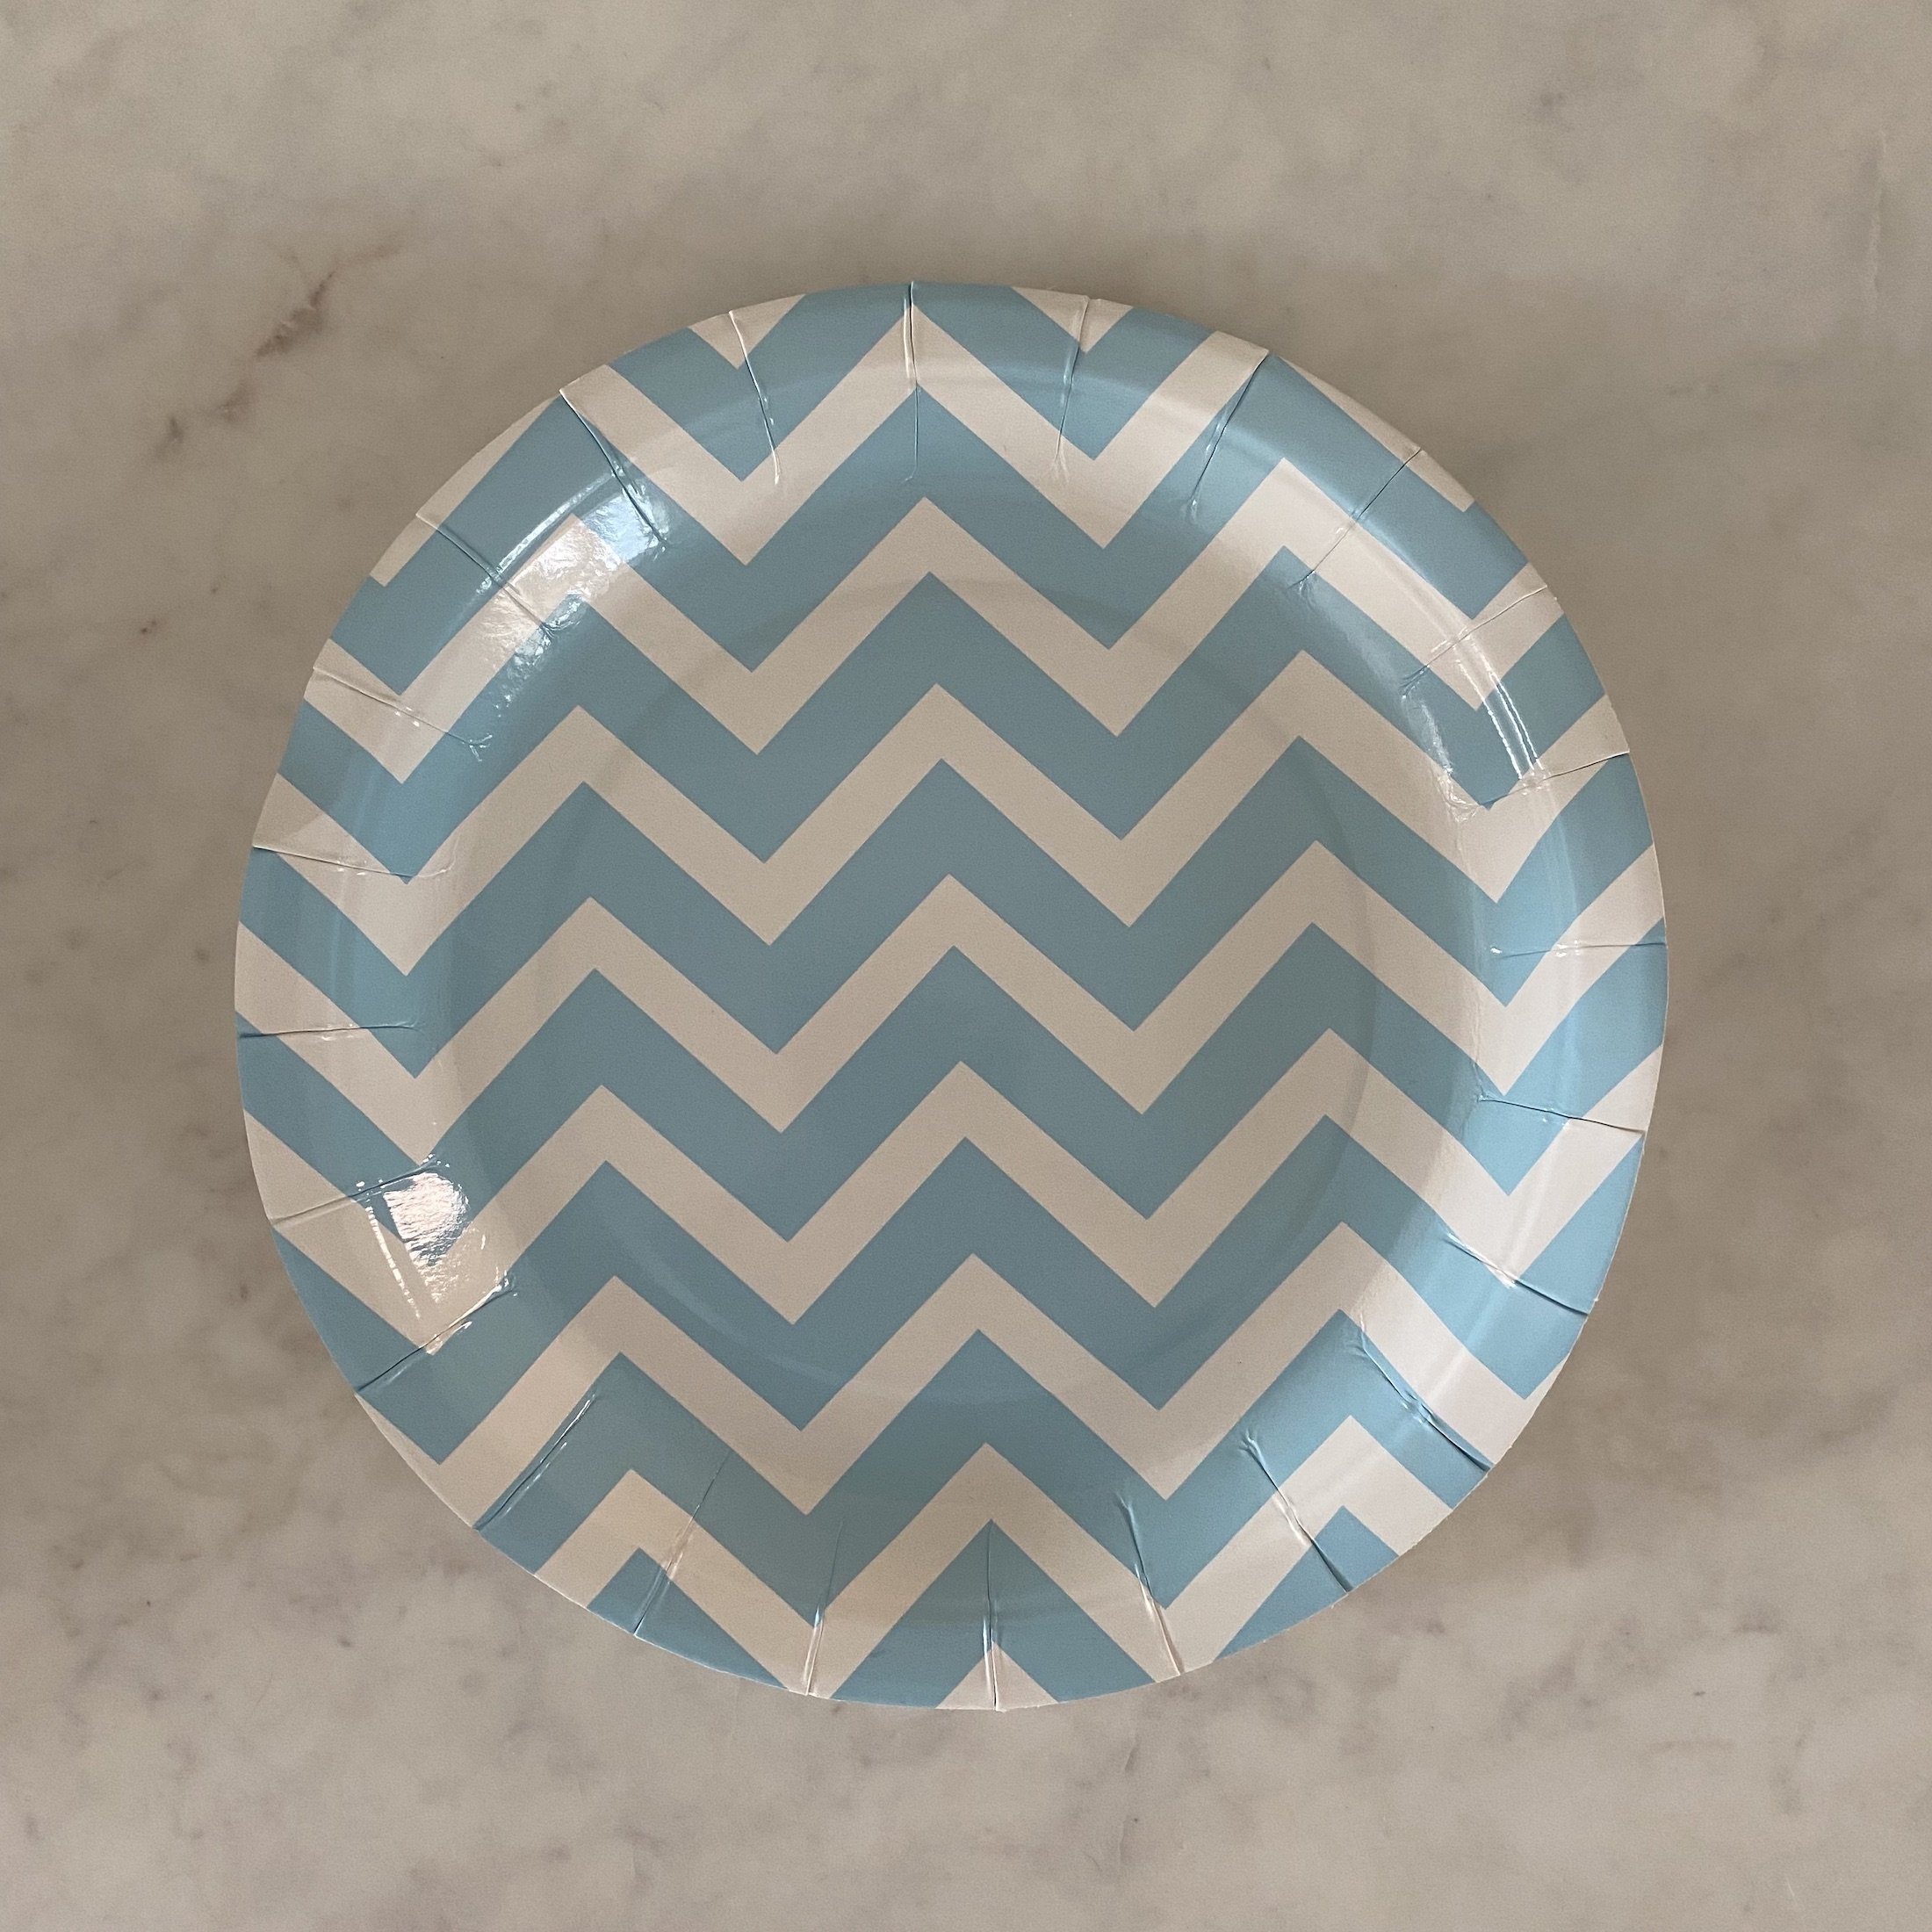
A paper plate
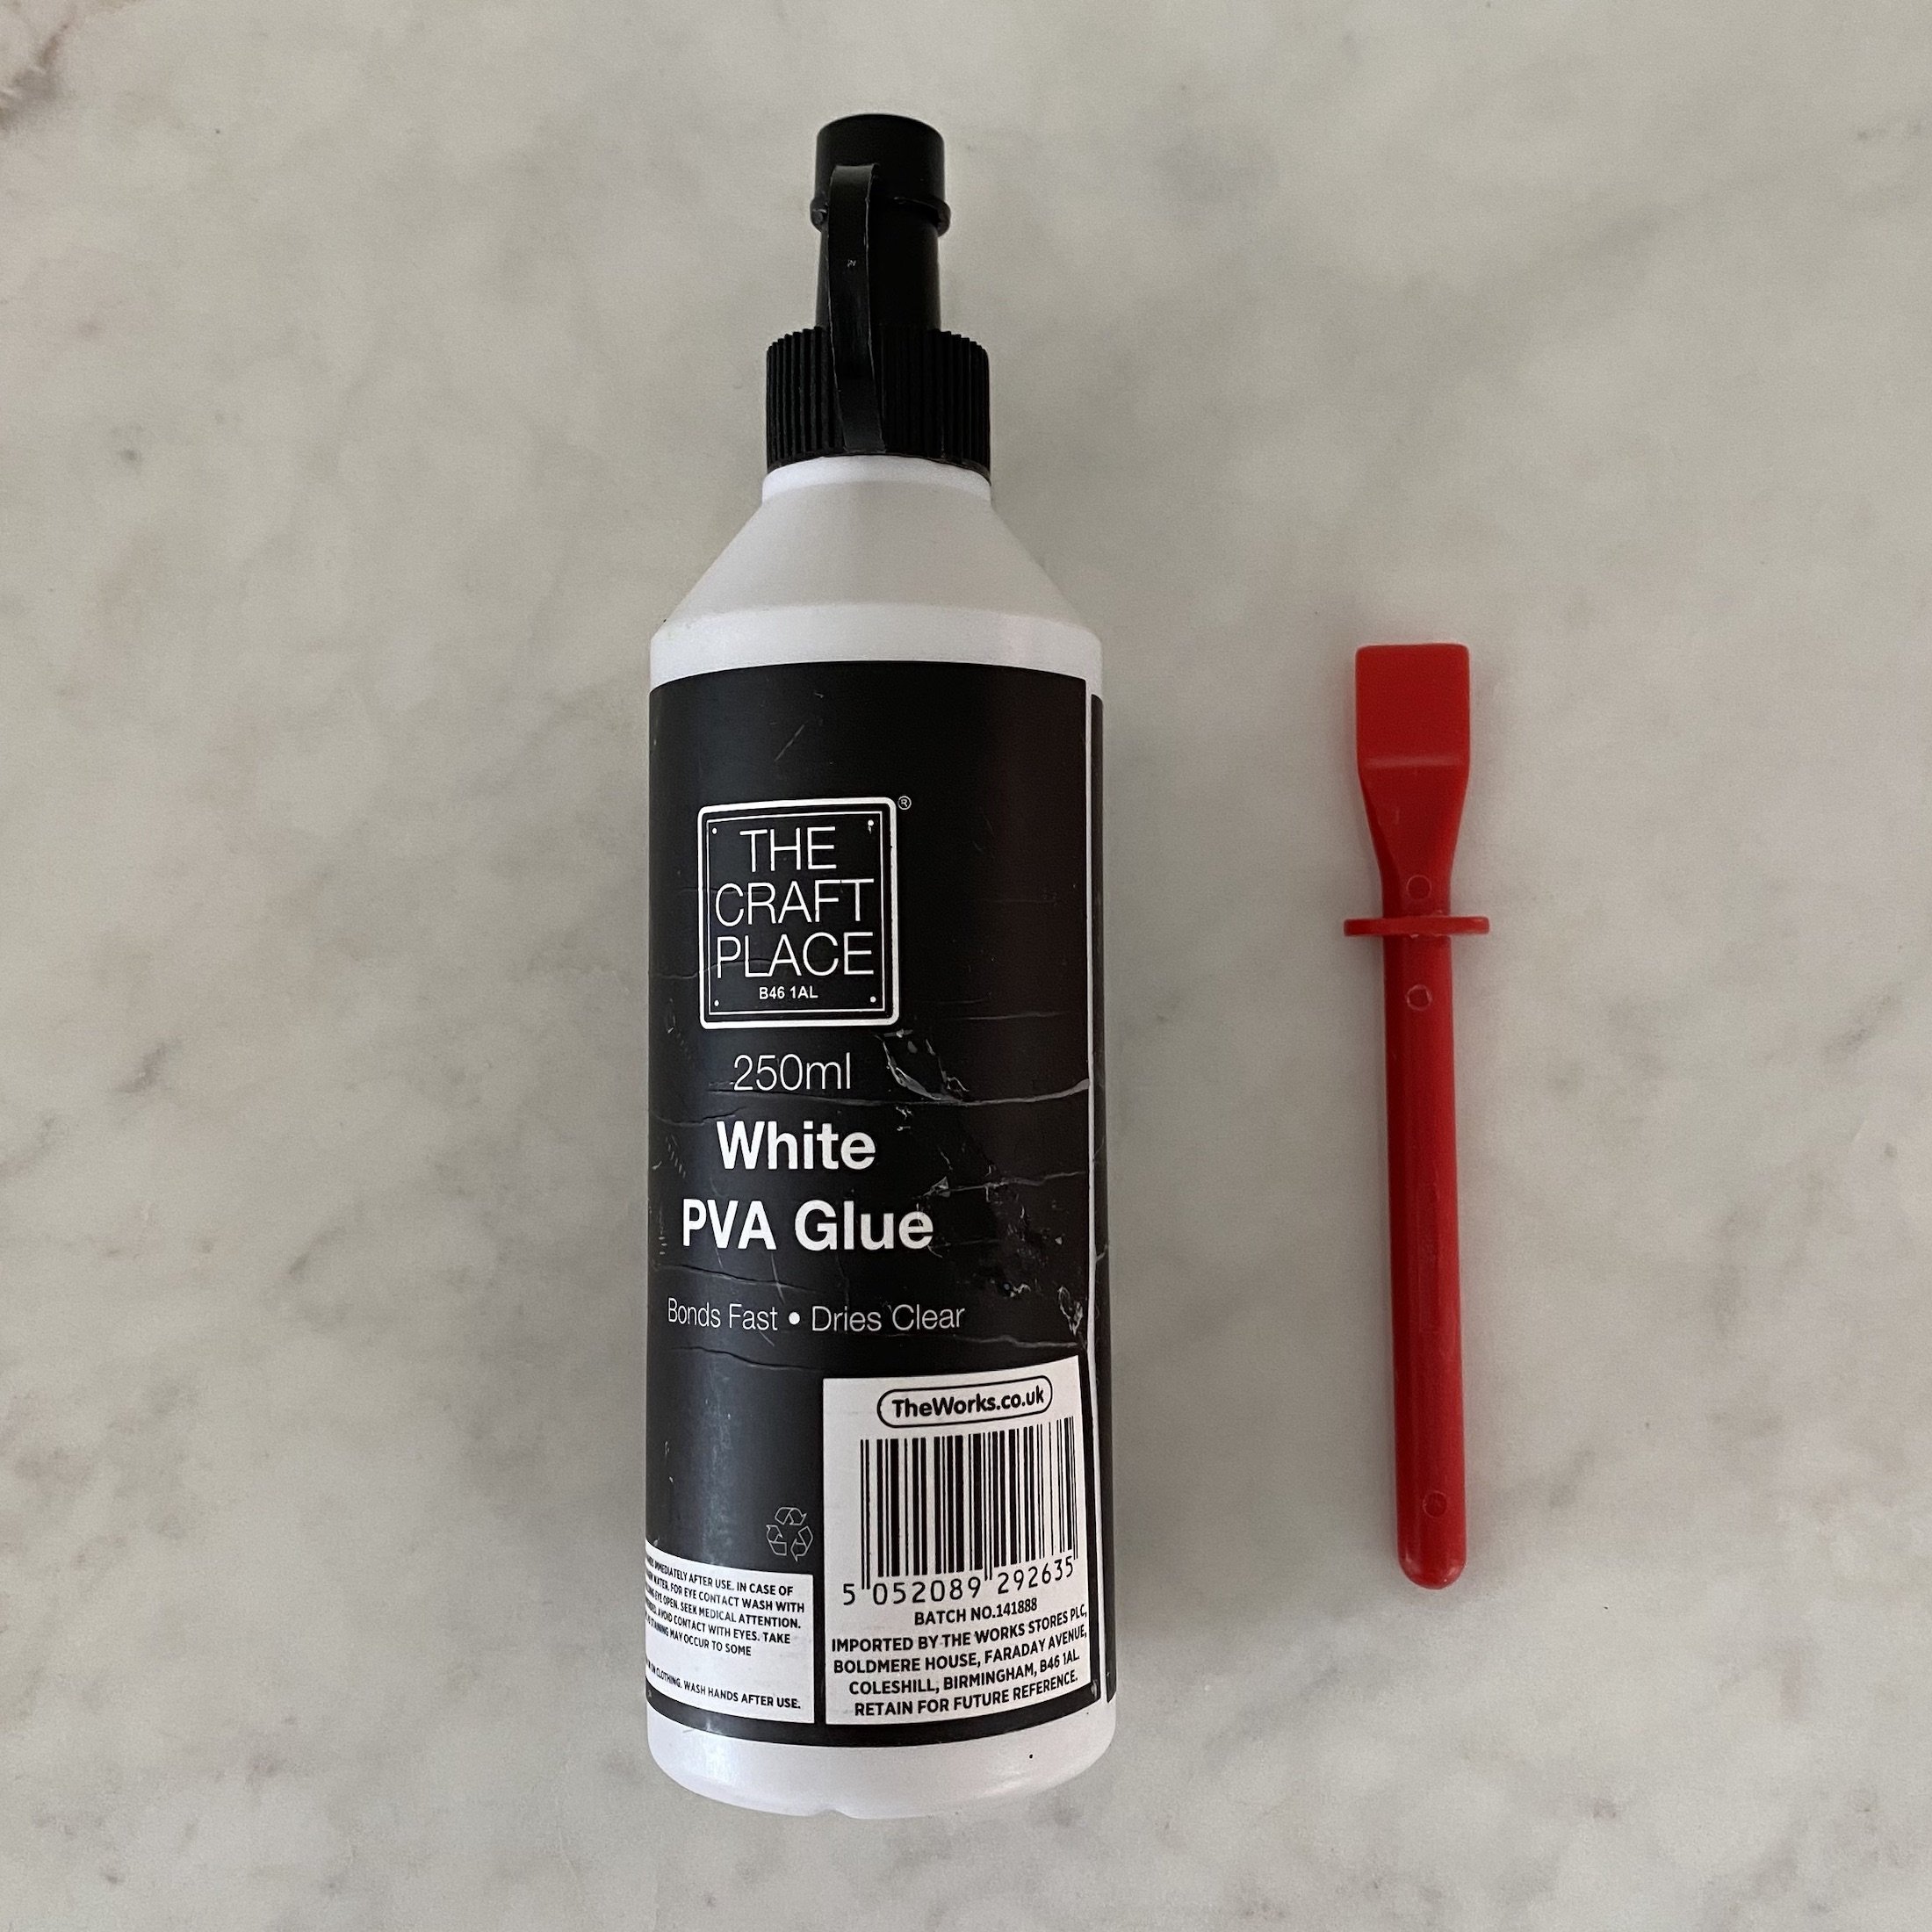
PVA glue and a glue spreader
Scissors
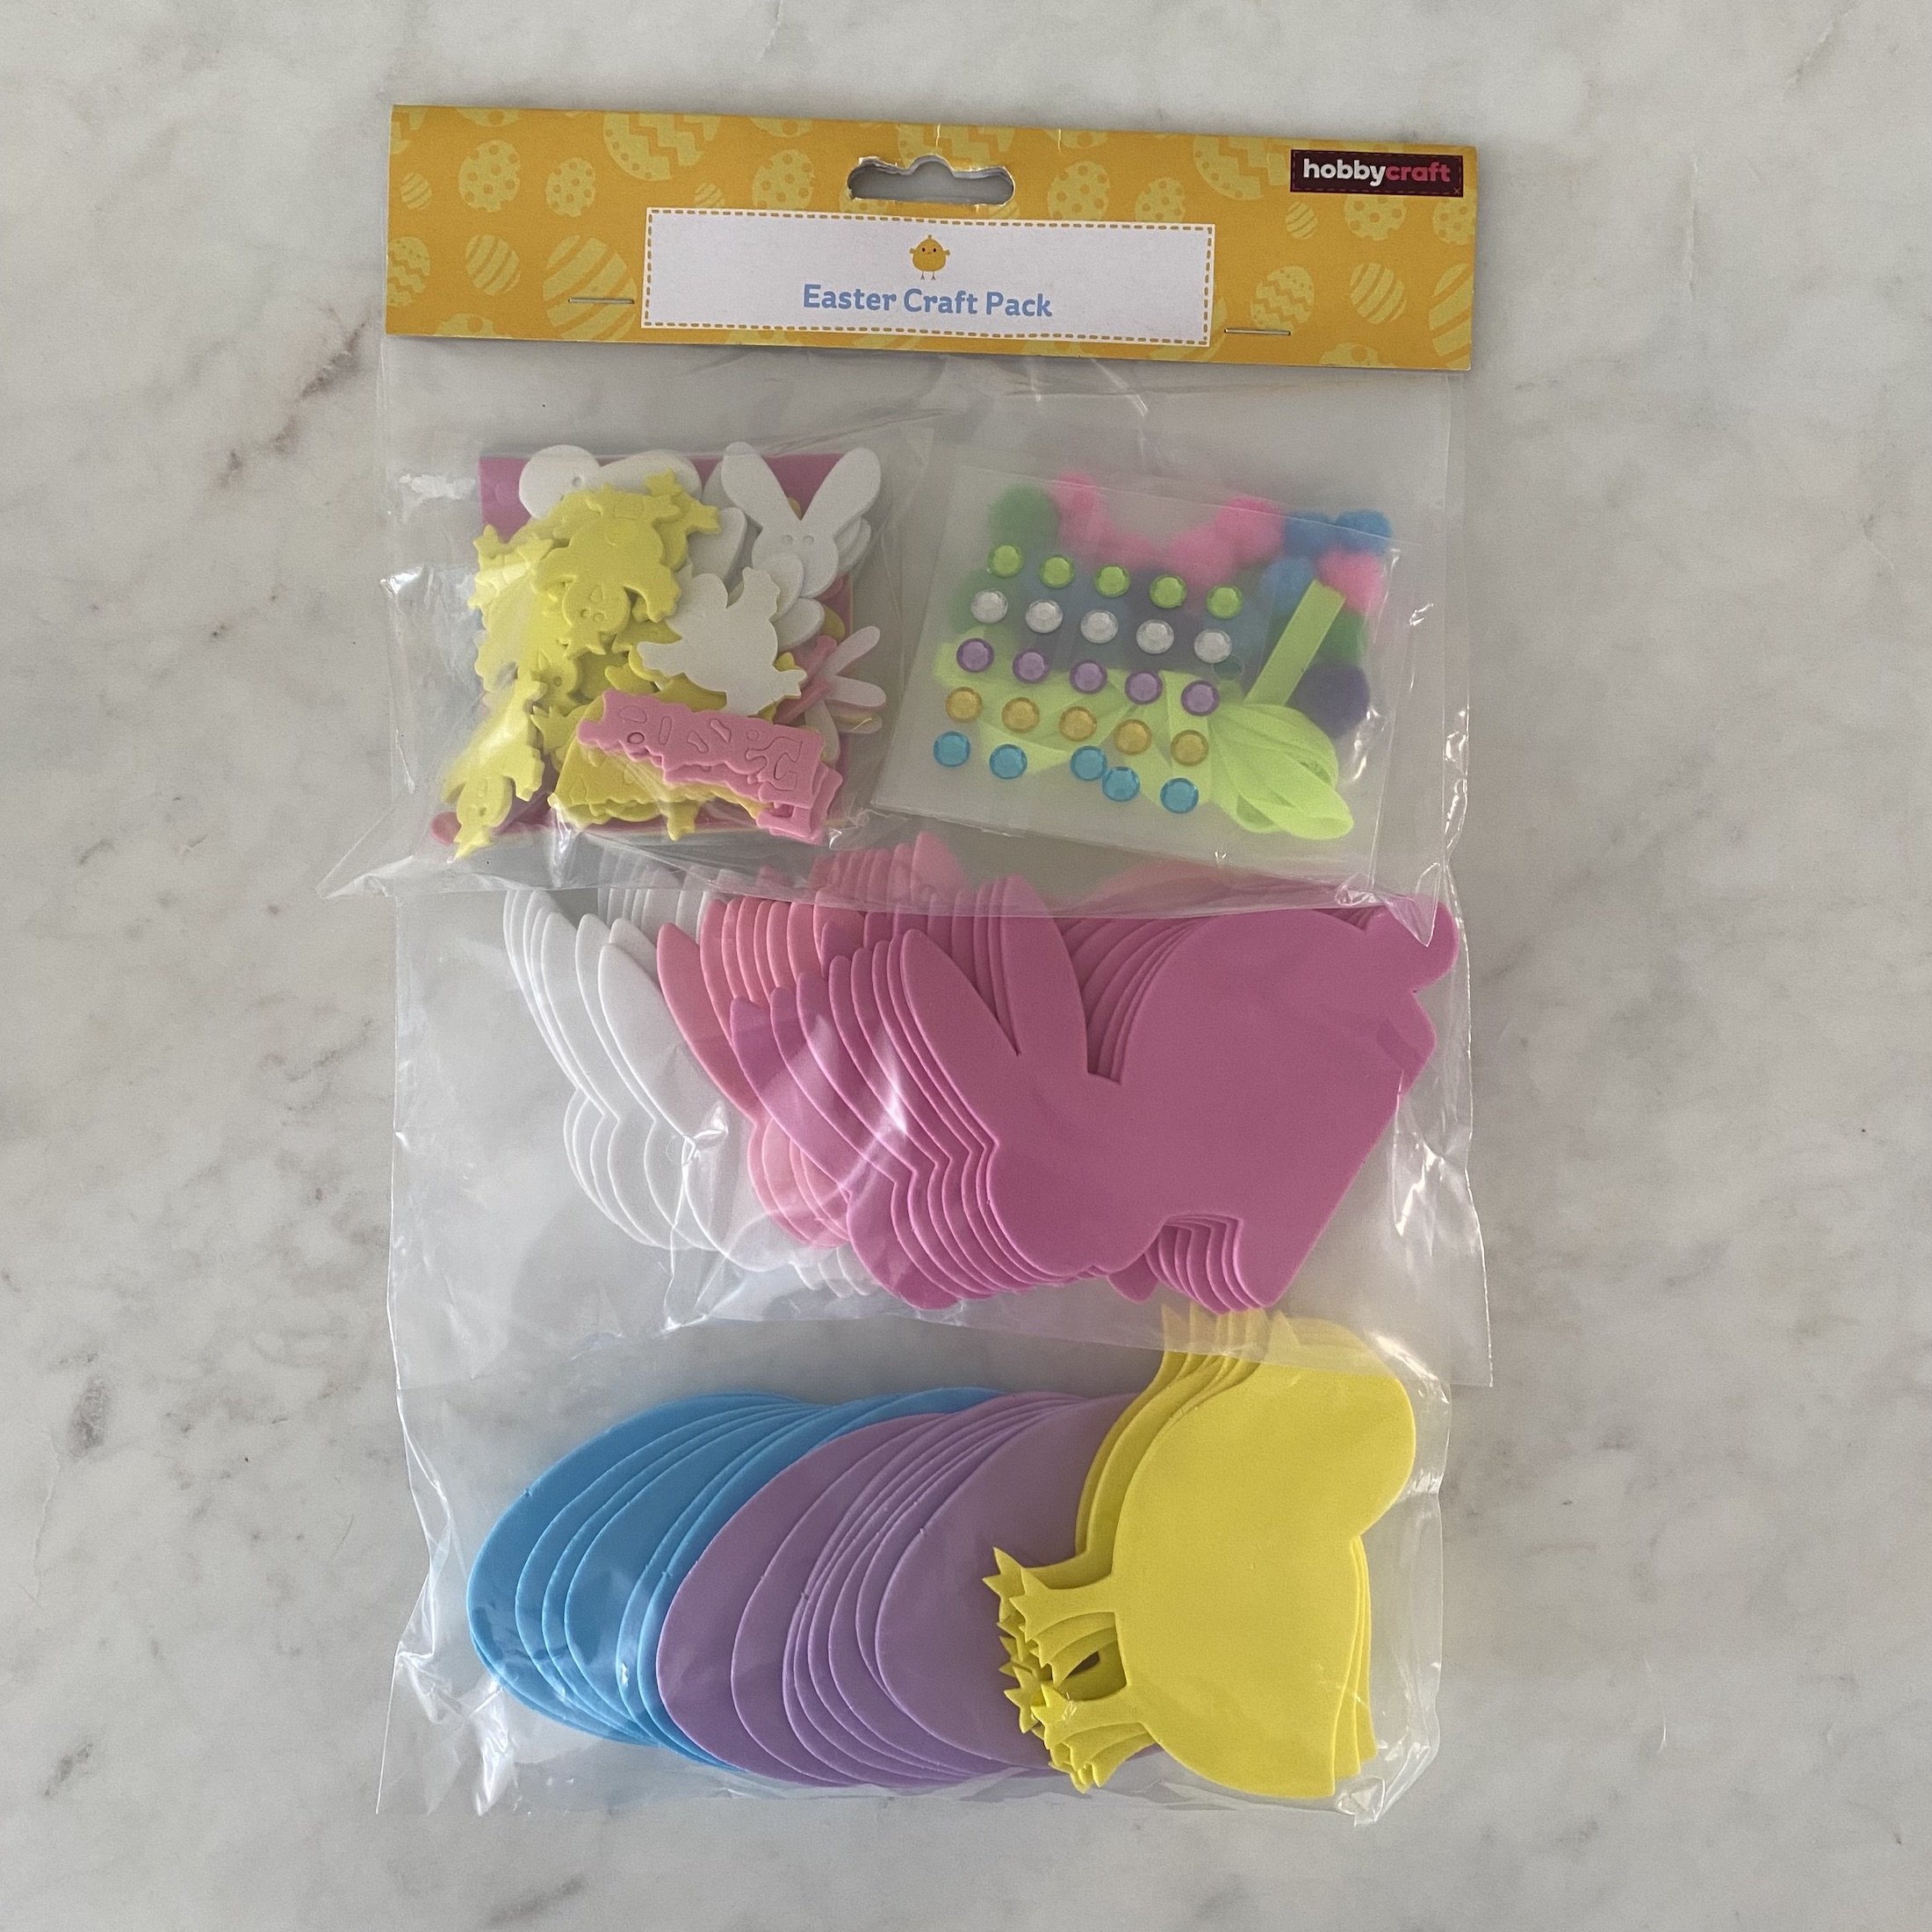
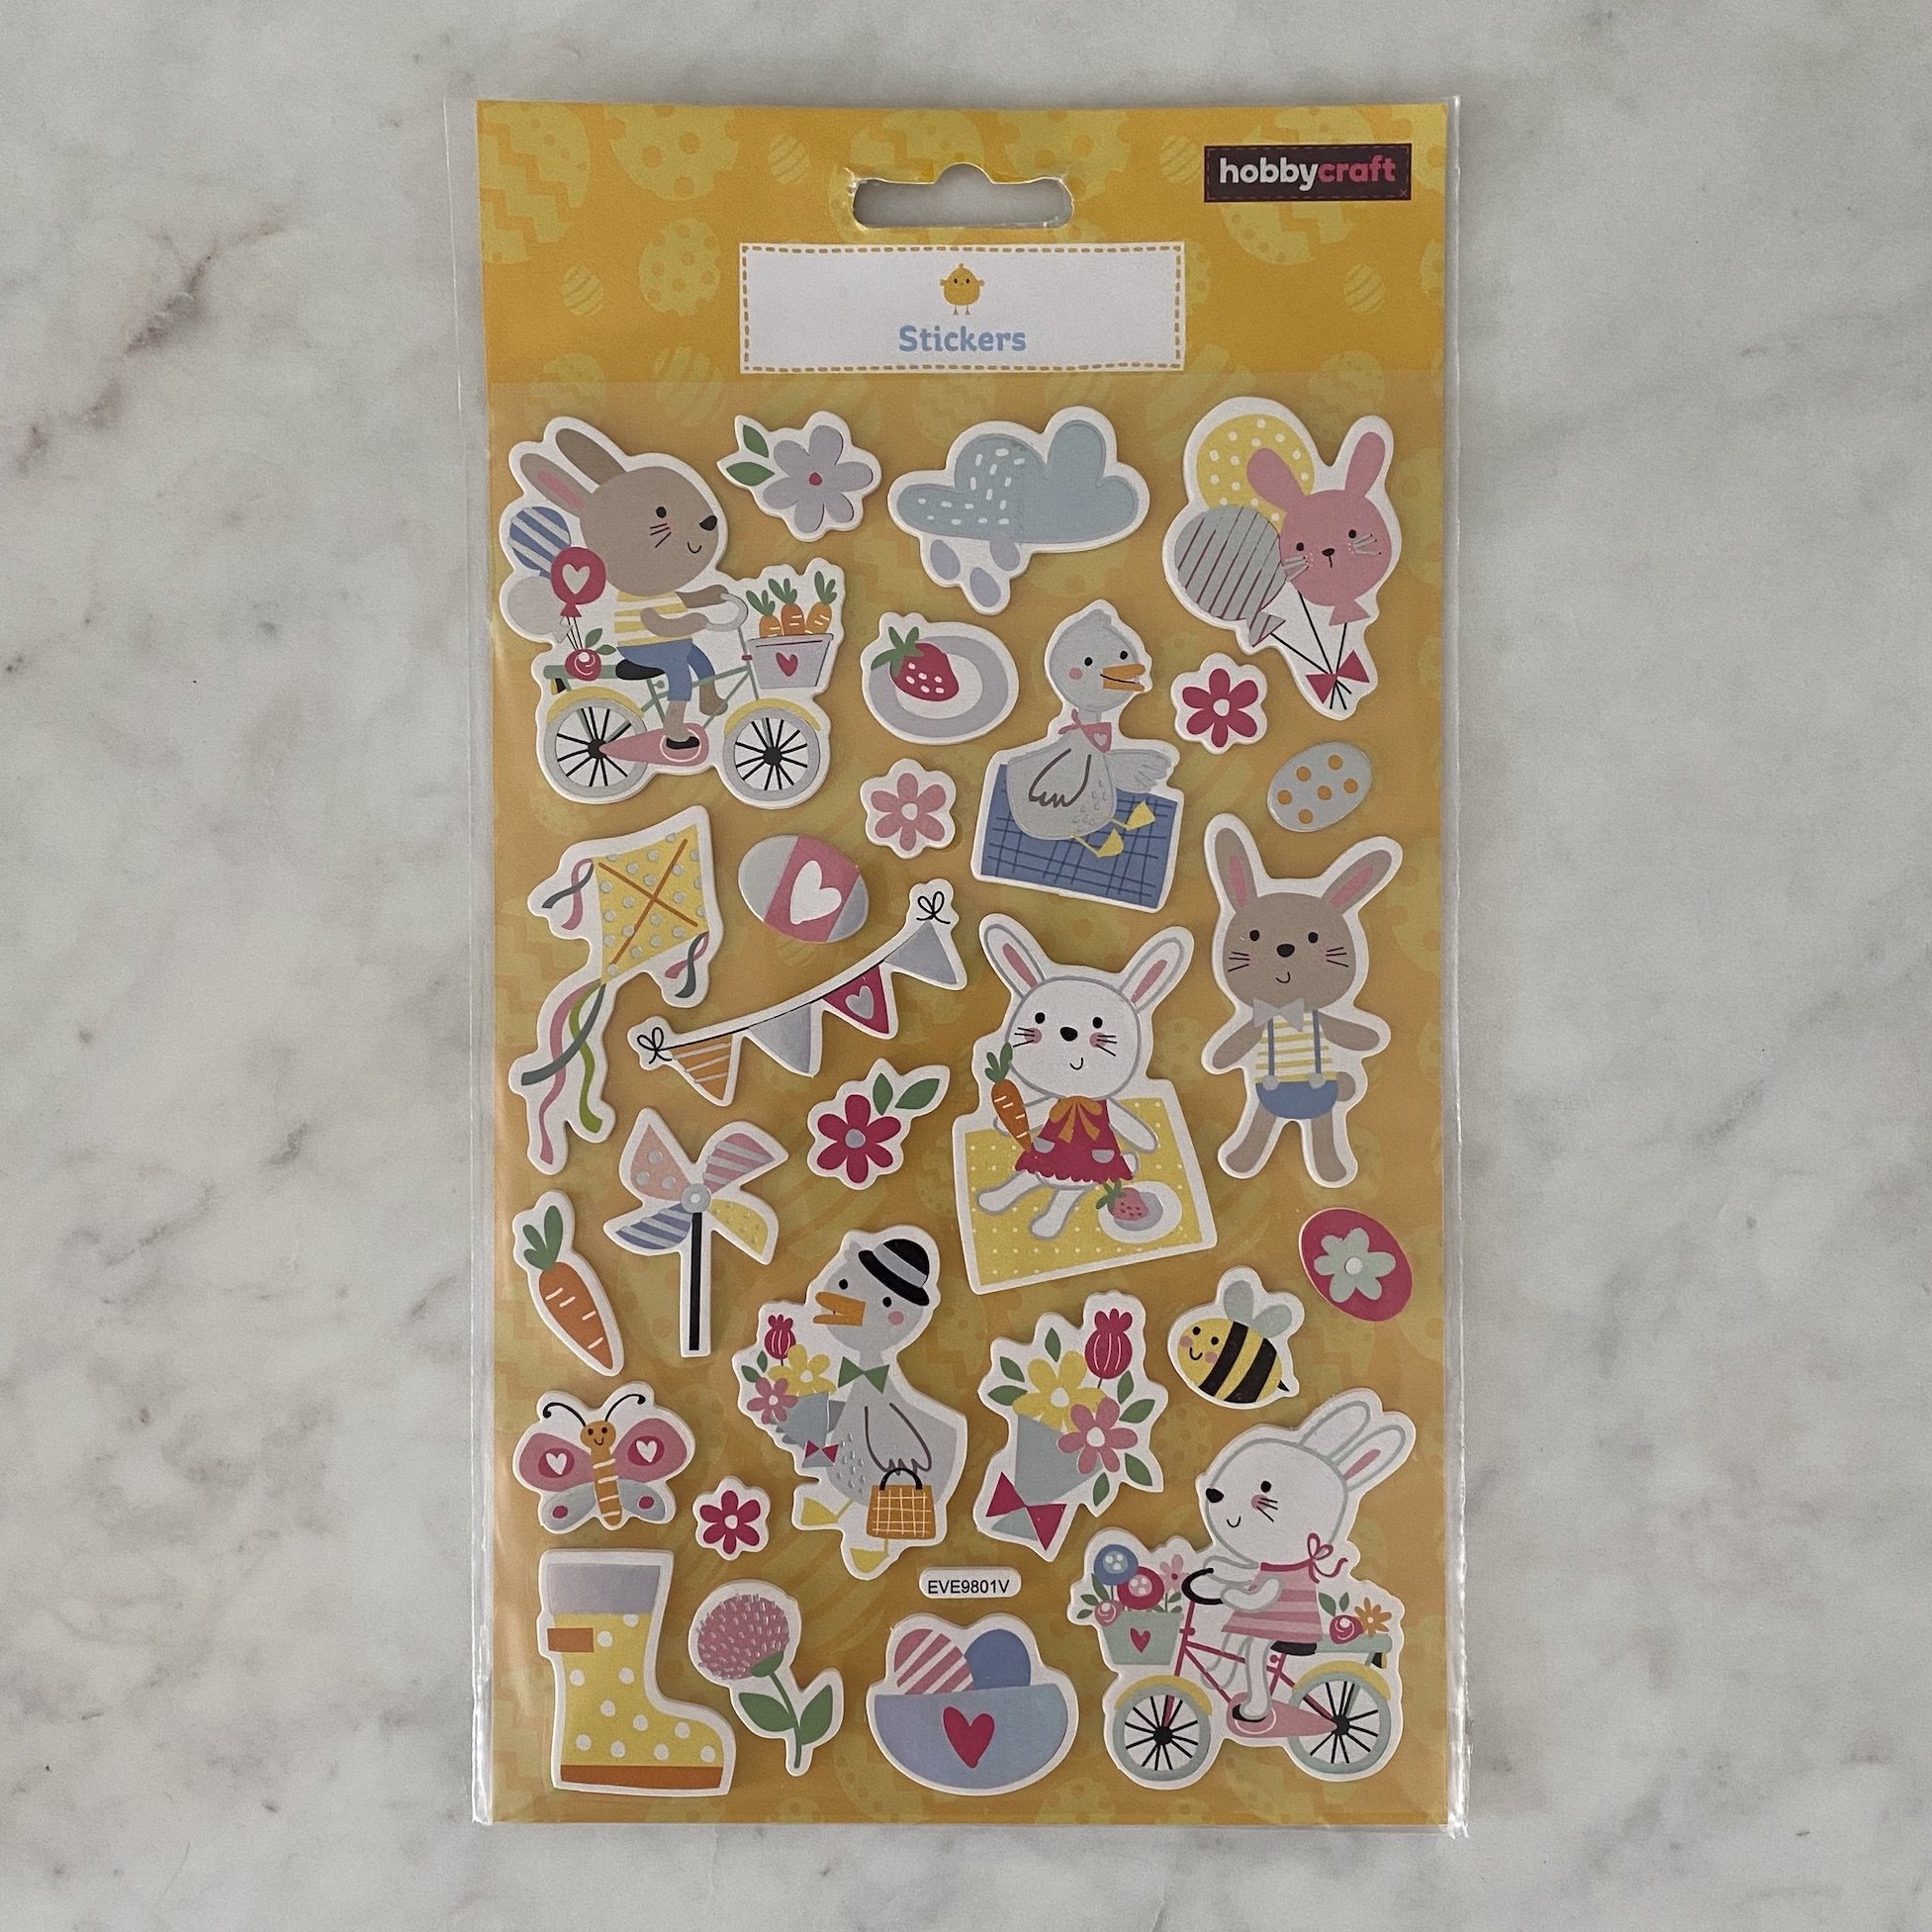
An Easter craft pack and stickers (or coloured paper to cut out your own Easter shapes)
Ribbon
Instructions - How to create an Easter Wreath
Put on aprons and prepare your work area by putting down an old tablecloth and/or newspaper.
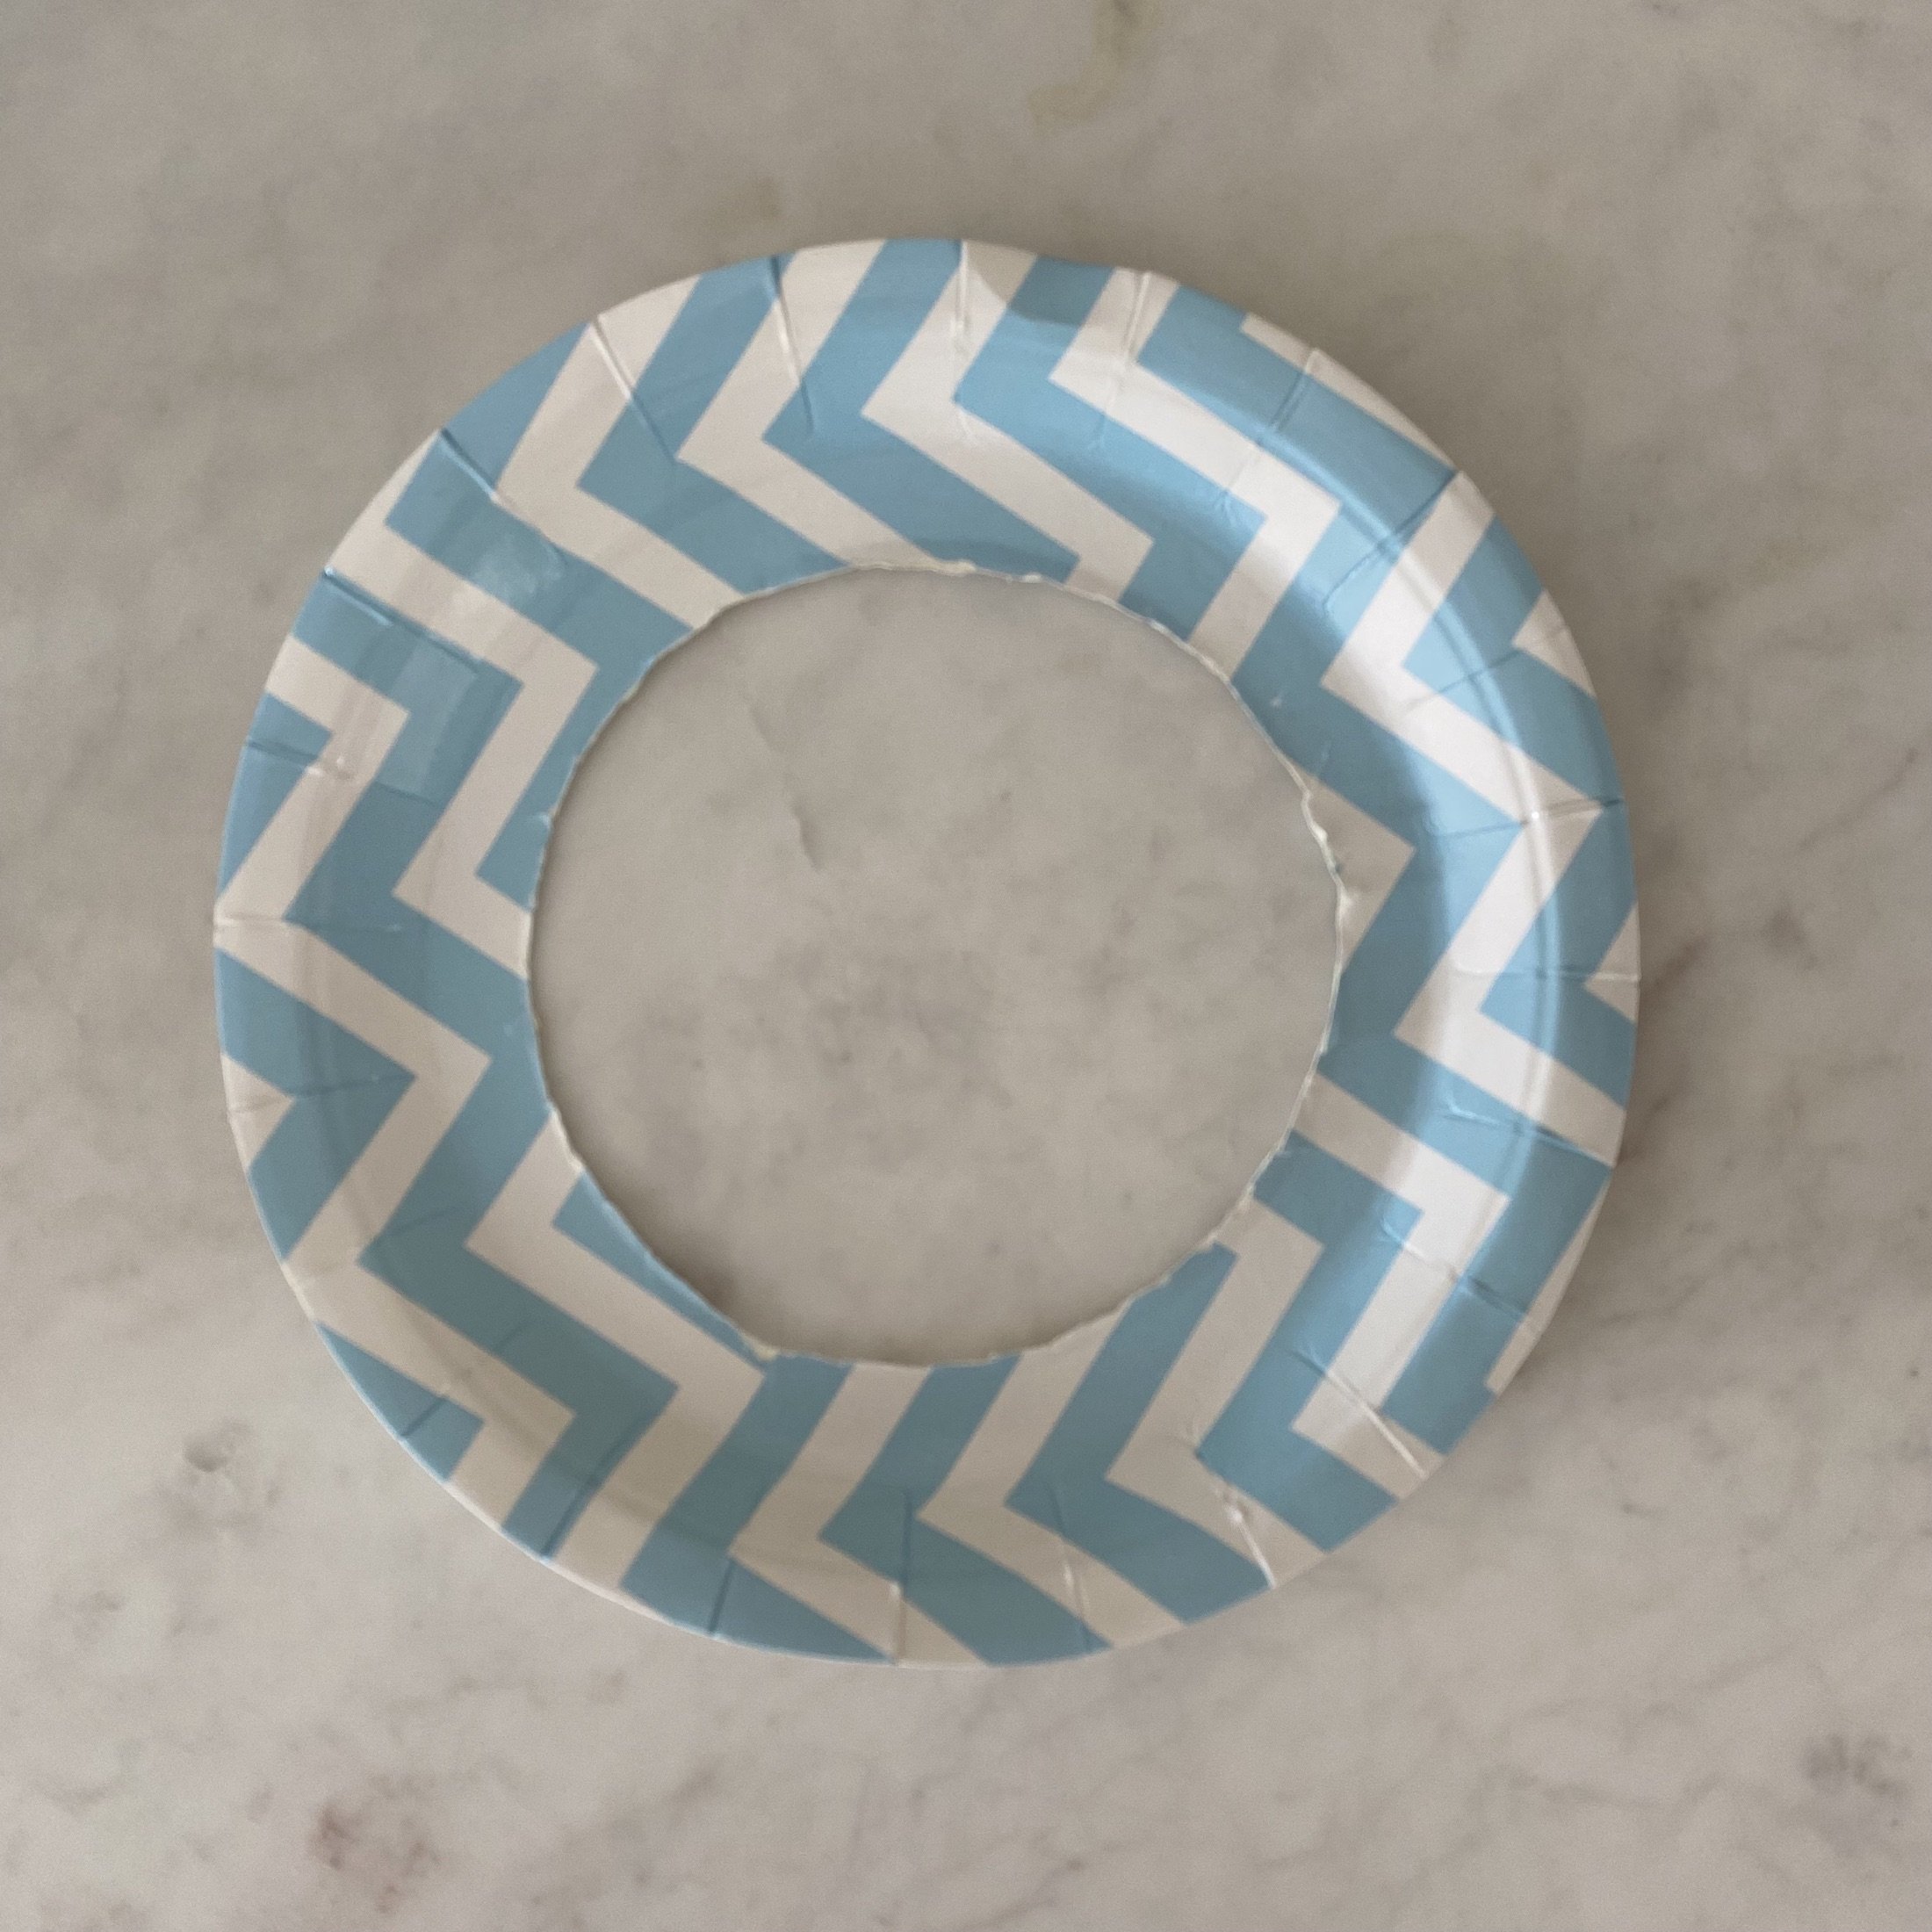
Use the scissors to cut out the middle of your paper plate.
Note: If you don’t have paper plates, you can cut a circle out of card. Draw around a dinner plate, cut it out and cut a hole in the middle.
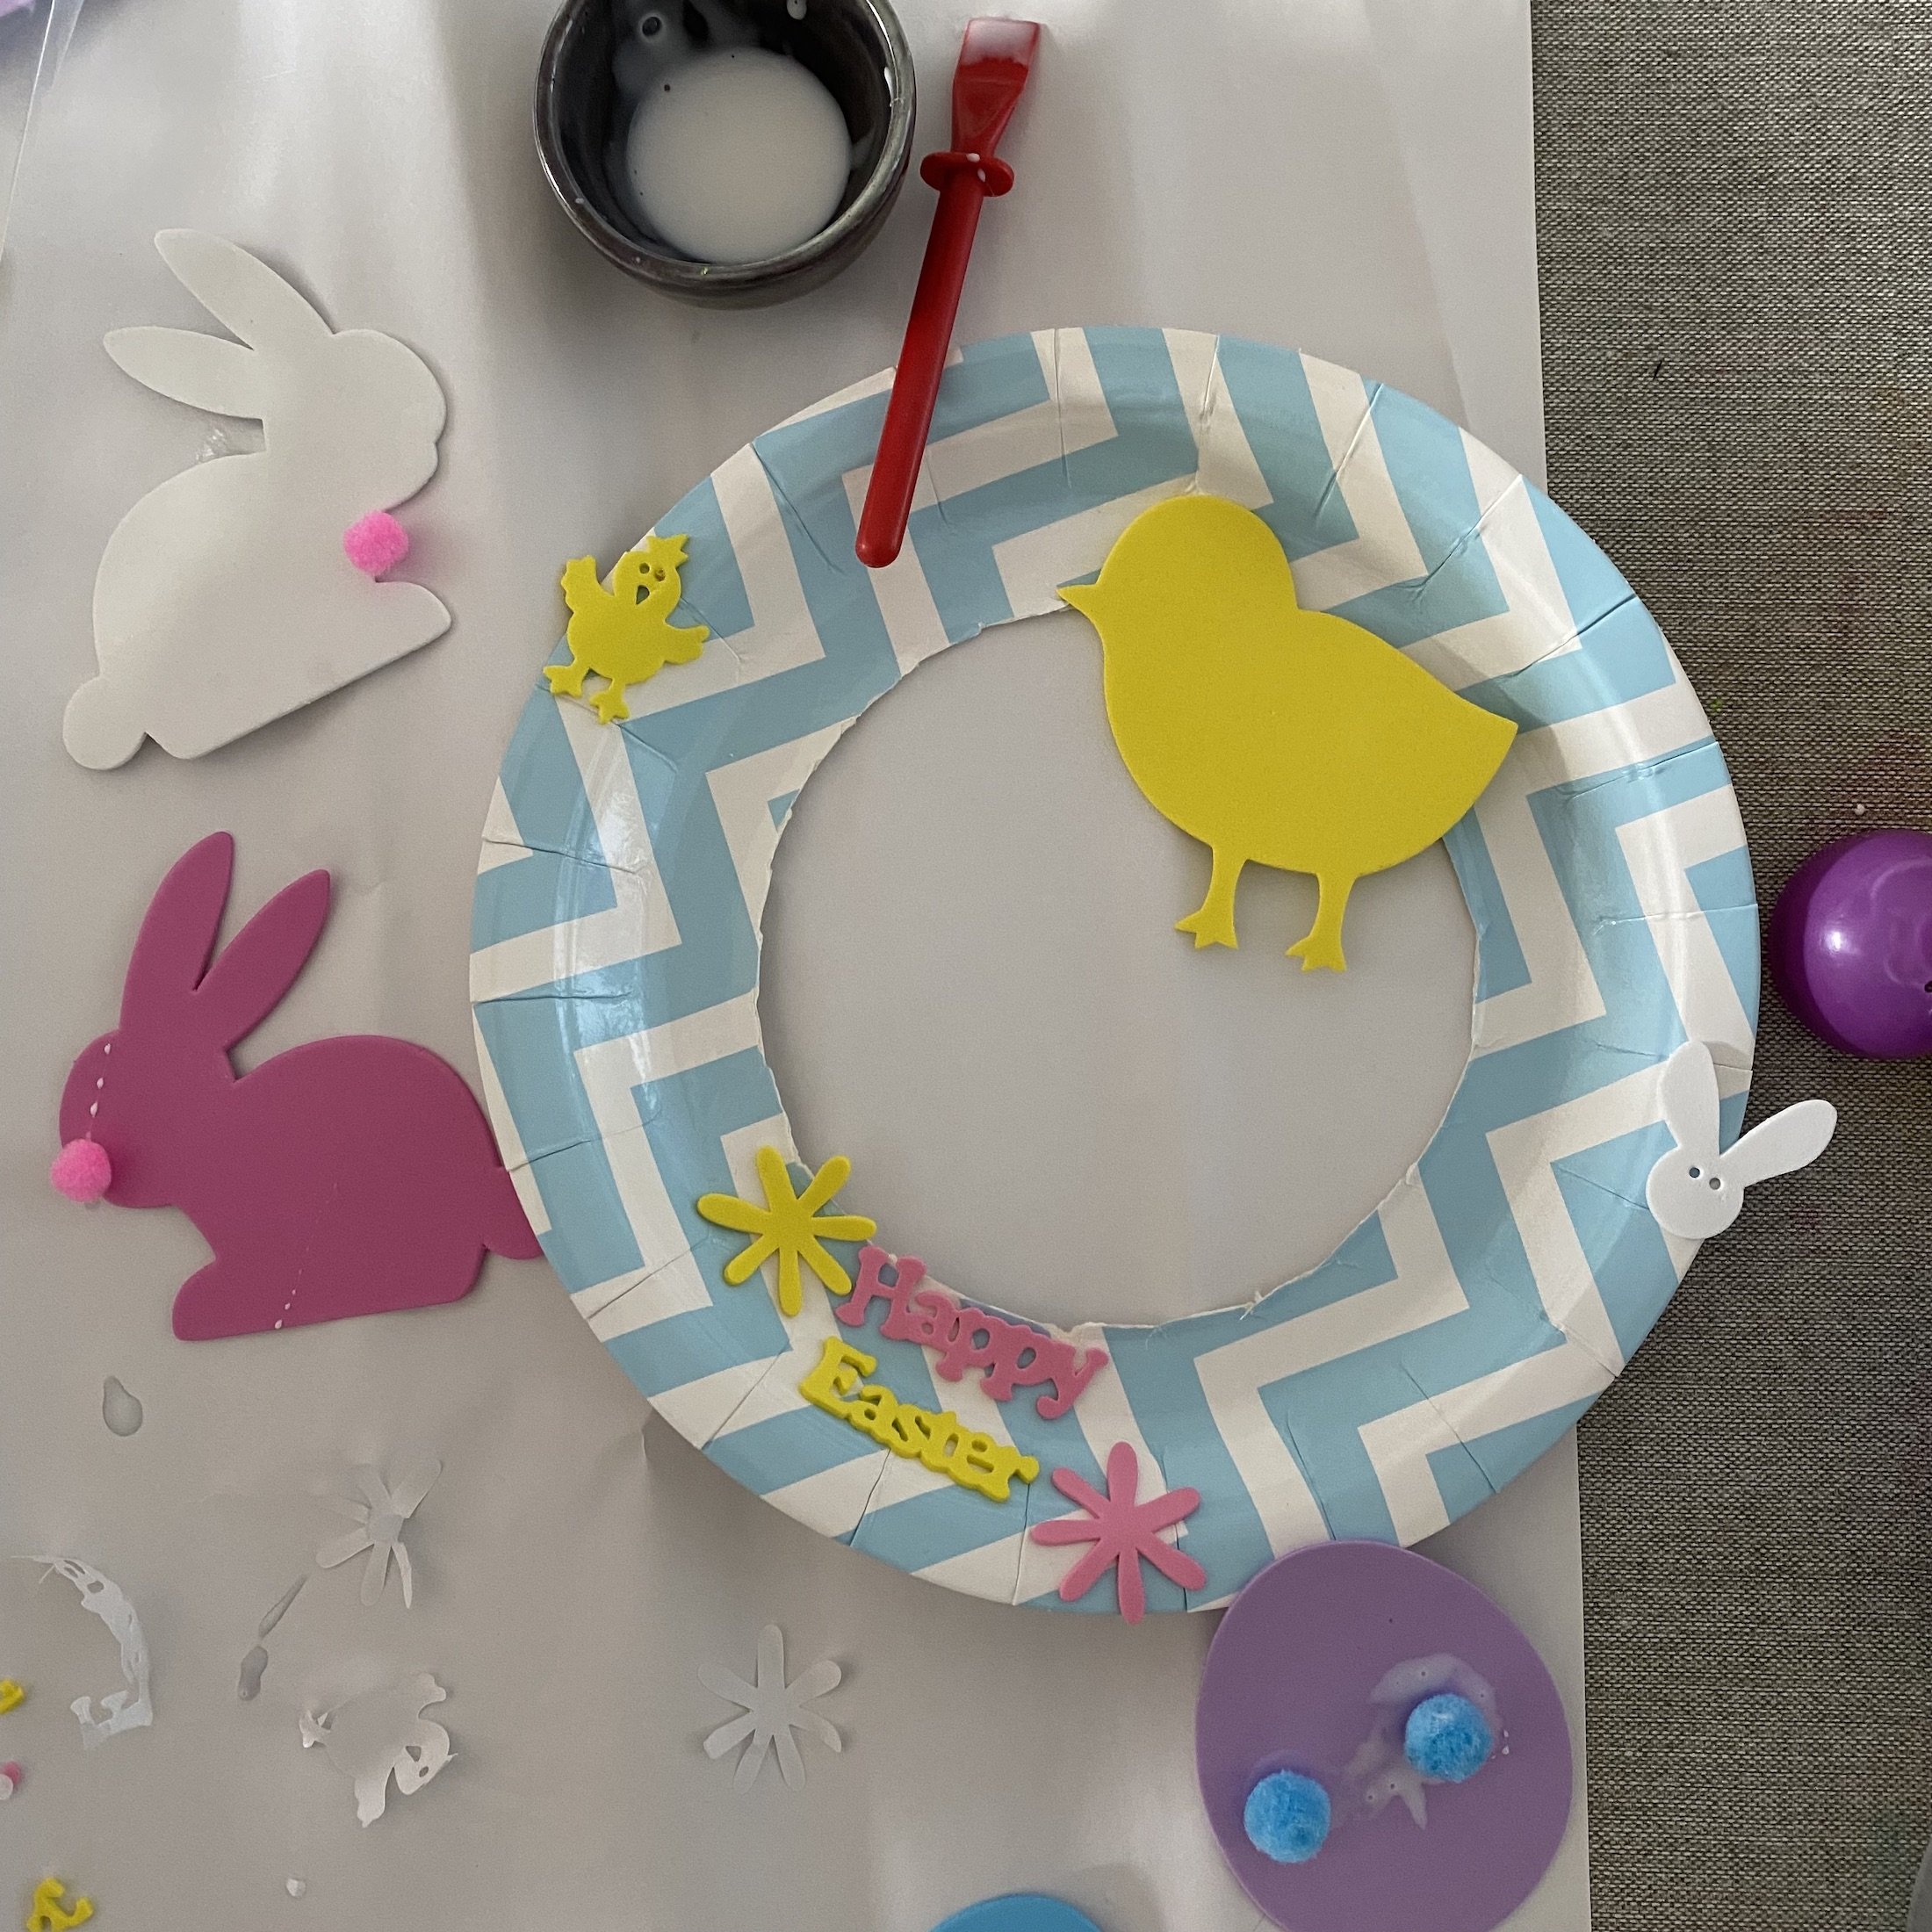
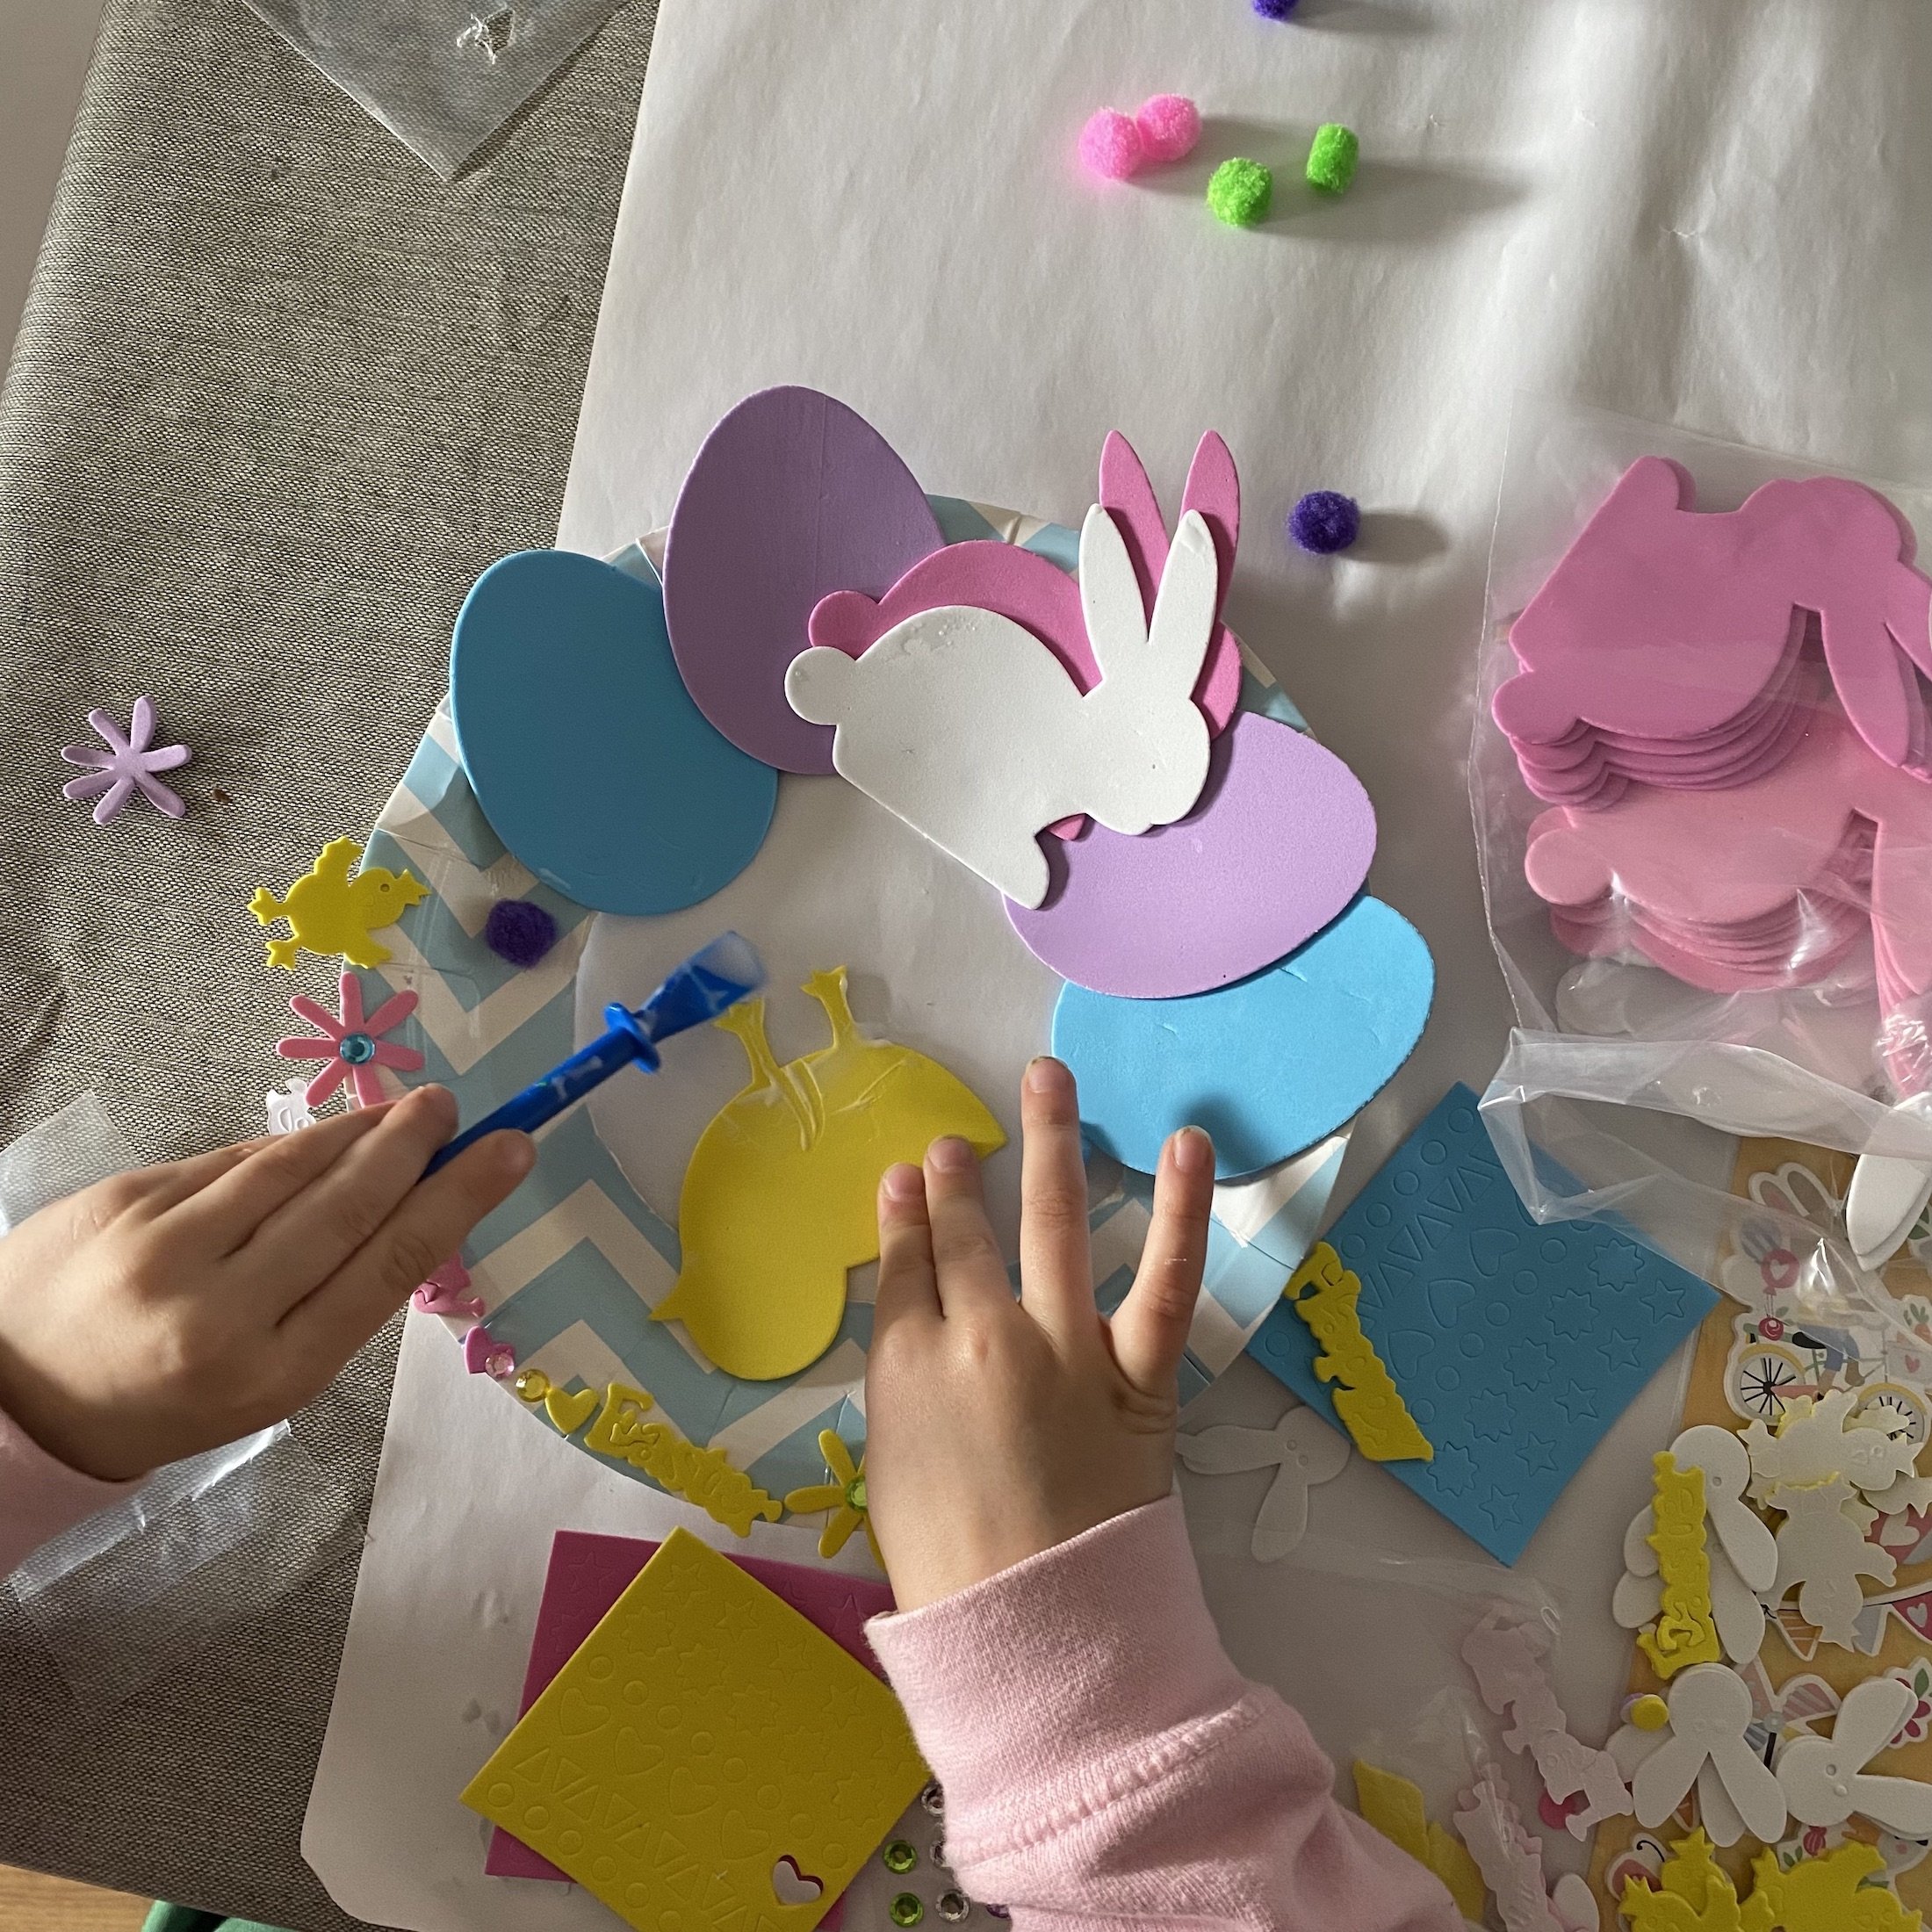
Use the PVA glue to stick the Easter shapes all around the edge of the paper plate.
Note: Hobby Craft and Amazon sell great Easter craft packs and stickers that are really versatile and can be used for a variety of Easter craft activities. As an alternative, use coloured paper to draw and cut out Easter shapes, such as eggs, chicks and bunnies to glue to your wreath.
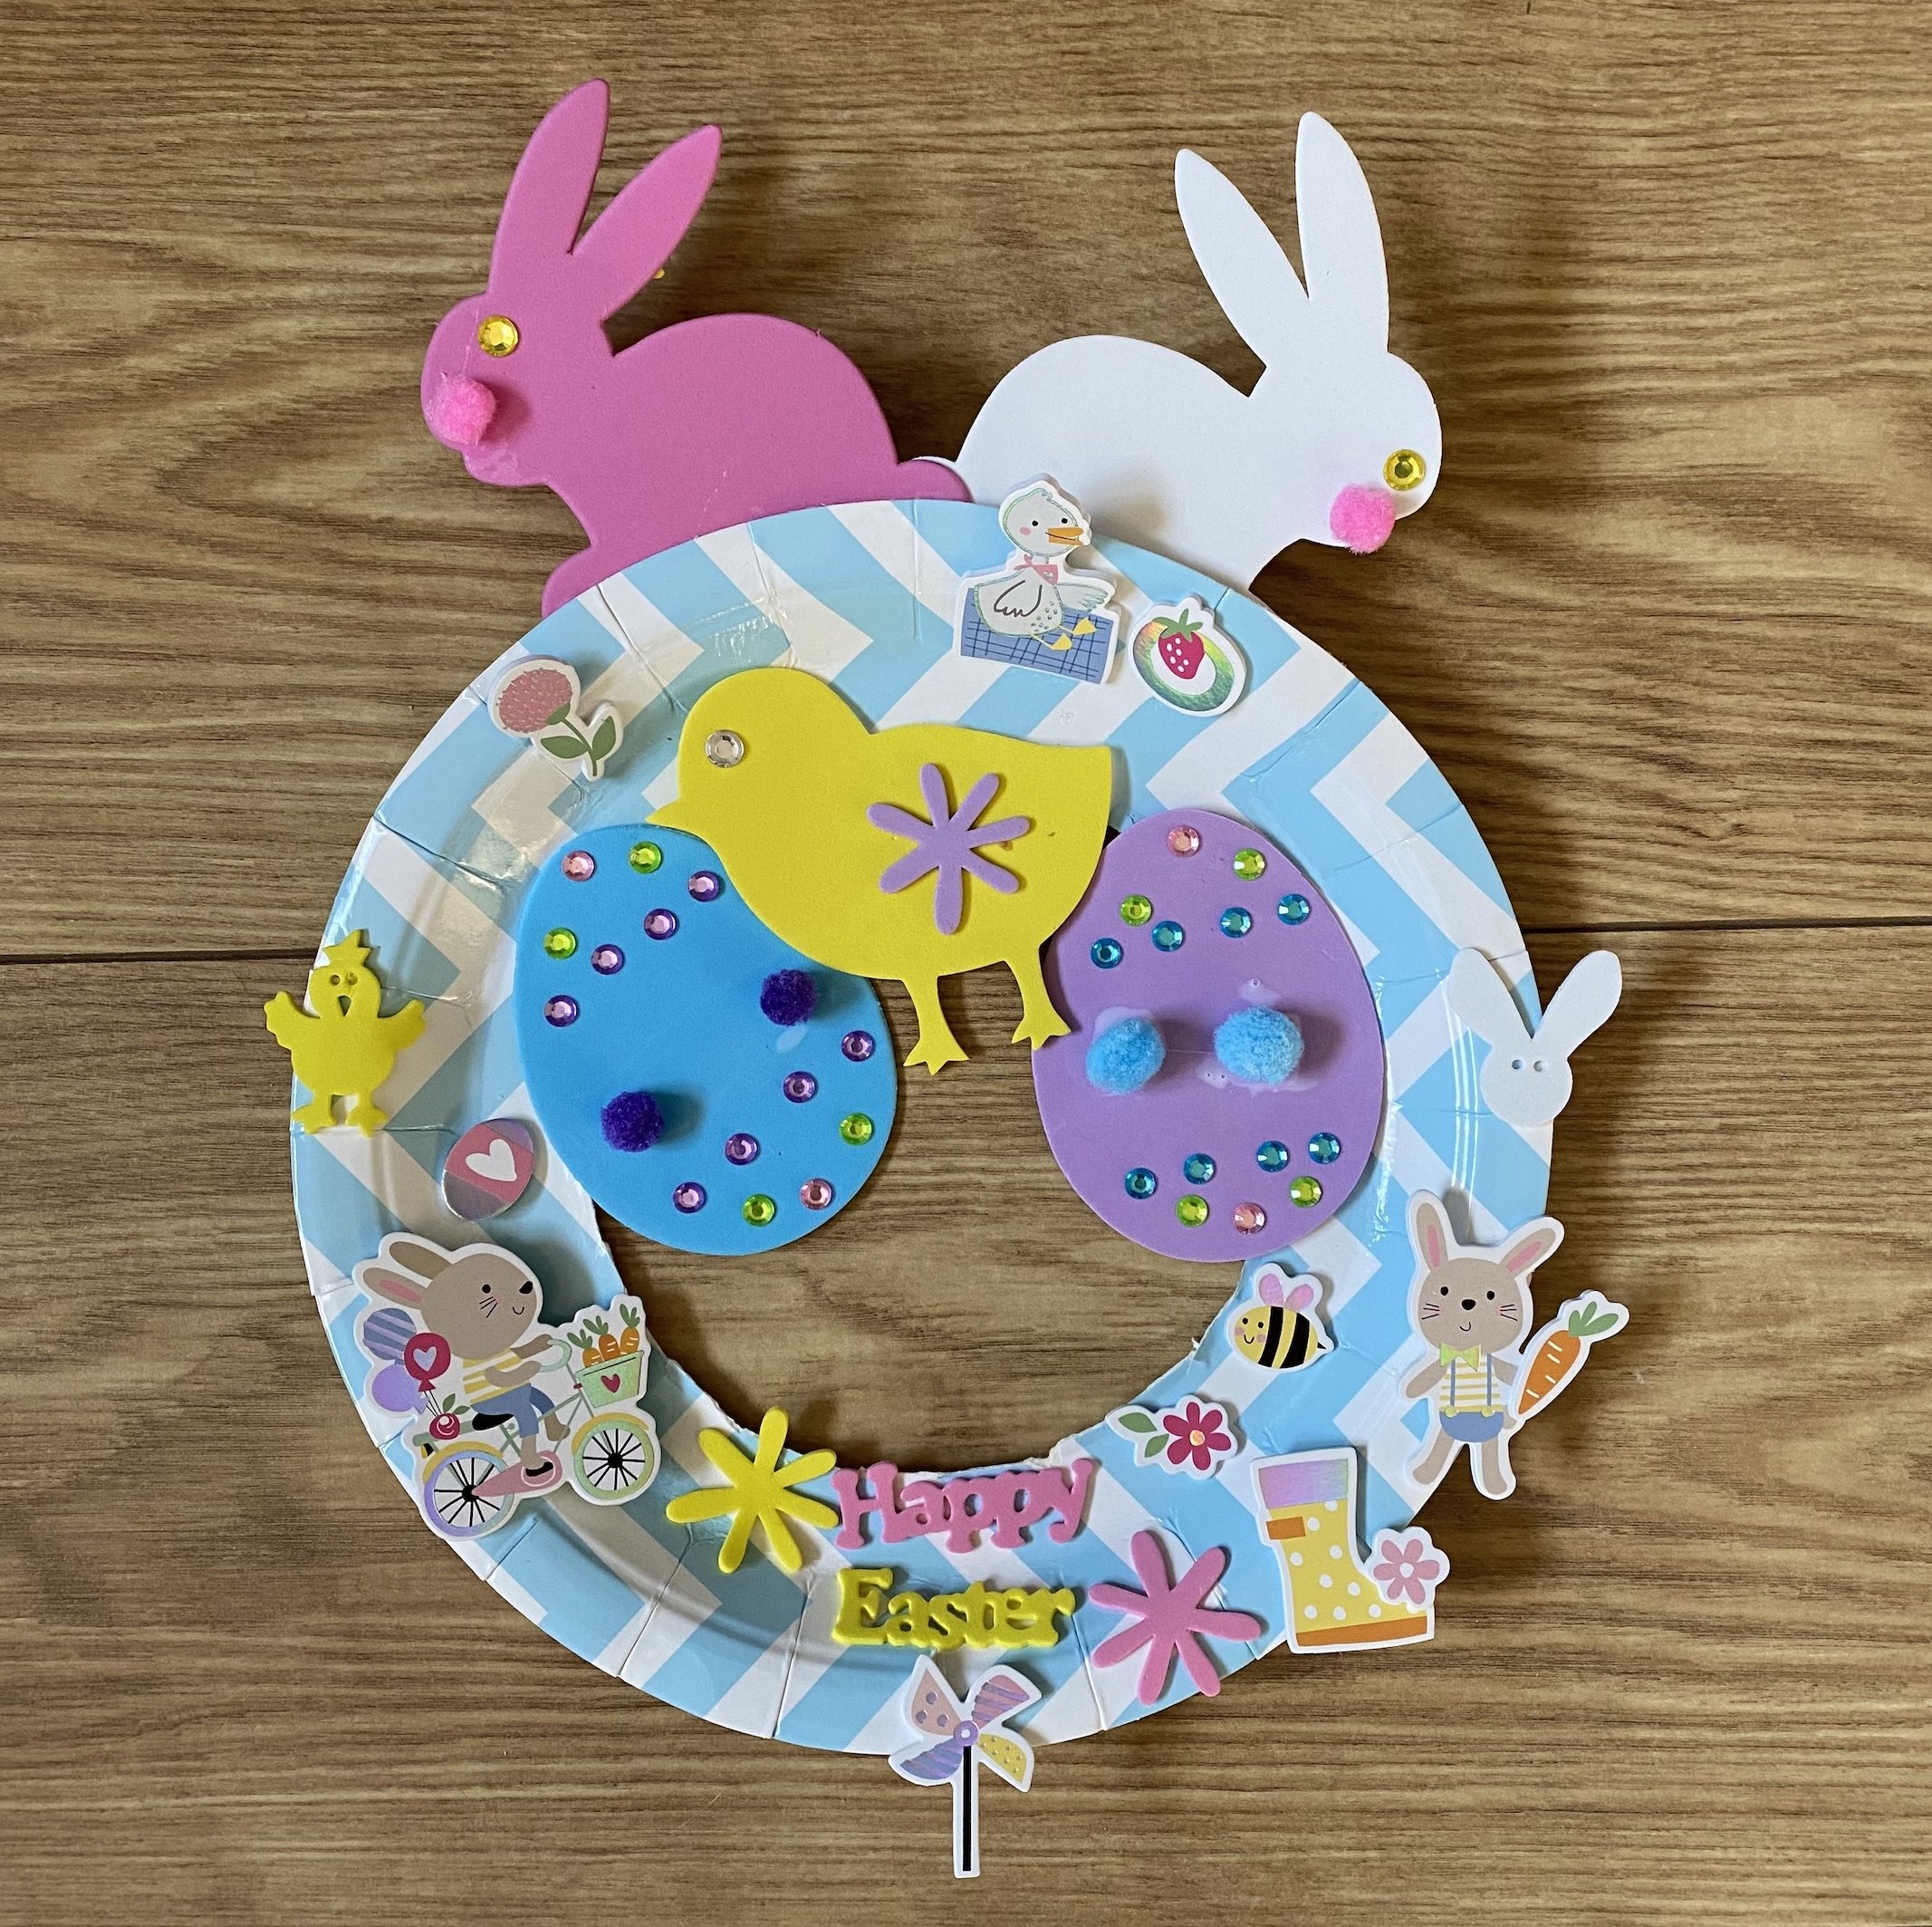
Decorate the wreath with Easter stickers.
Put the wreath to the side to dry.
Once the wreath is dry, use the ribbon to attach a bow to the wreath and either glue, staple or use sticky tape to attach a loop of ribbon to the top of the wreath.
Hang your wreath on a door handle!
I hope you have found this guide helpful and enjoy this activity as much as we do. If you have made an Easter Wreath, I would love to see it! You can email me at sarahransomeart@gmail.com.

